Testing A Gear Modification To Replace Oyster Cage Latches
Can This Promising Experiment Solve A Pesky Problem?
Three key changes in our latch clip design are being tested this summer of ‘21 on a small number of cages. If the new design does the job better, as I think it will, we’ll put it into production on new cages. Might even change over some of the older cages as they’re hauled for maintenance.
Of course, how I think something will work and how it turns out to work are two different things. We’ll know more as the process unfolds.
I’ve been thinking about a solution to our latch issue for some time. Our standard cage is a three-tray stack and the latch clips that secure the trays together catch on everything. The latch clips are labor intensive to make, with cutting, bending, and threading. They’re difficult to manage when you unbutton the cage on or off the boat.
Our cage uses a bridle system. It’s part of our ghost-lining set-up underwater, and is used for hauling cages aboard. We go over this in another post and video; how you unwrap the cage and undo the clips.
When you disassemble the cage, you have three separate trays, which we call tops, middles, and legs.
The latch clips secure the three cage trays together. The problem is when you take off the top, the clips flop all over the place. You’re in a boat, so you kind of stand them up and those little things catch on everything possible, your waders, your clothes, someone else’s gear.
Our standard cage set-up does keep a nice, neat unit. I’ll give you that. But the top tray has a hinged cover. This is limiting, especially on the boat. The screen-grabs below, left to right, show the latch clips hanging off the top ready to grab my face; a hinged top cover, and our standard three-tray cage.


Trying Out Thicker Rubber, Trimmed Clip, Unhinged Top
I thought about it long and hard, and came up with a new solution that will work in deep water as well as shallow water. The top is now completely separate from everything else. It can be changed from boat to boat, cage to cage. And those clips are not going to catch. I run a heavier duty rubber cord through the separated top, and I’ve modified the metal clip a little bit for securing the three trays together.
This design does away with the wire mesh portion of the clip. No more cutting or bending. We thread the rubber through the top, which starts and ends with a bowline knot. Pull the rubber loop down from the top and clip the bottom on all four sides.
There’s less labor with this modification than the old latch. I think it’s going to work well. It’s going to help us, maybe, simplify our process and make our work easier. So, for now, the old latch clip system is out.
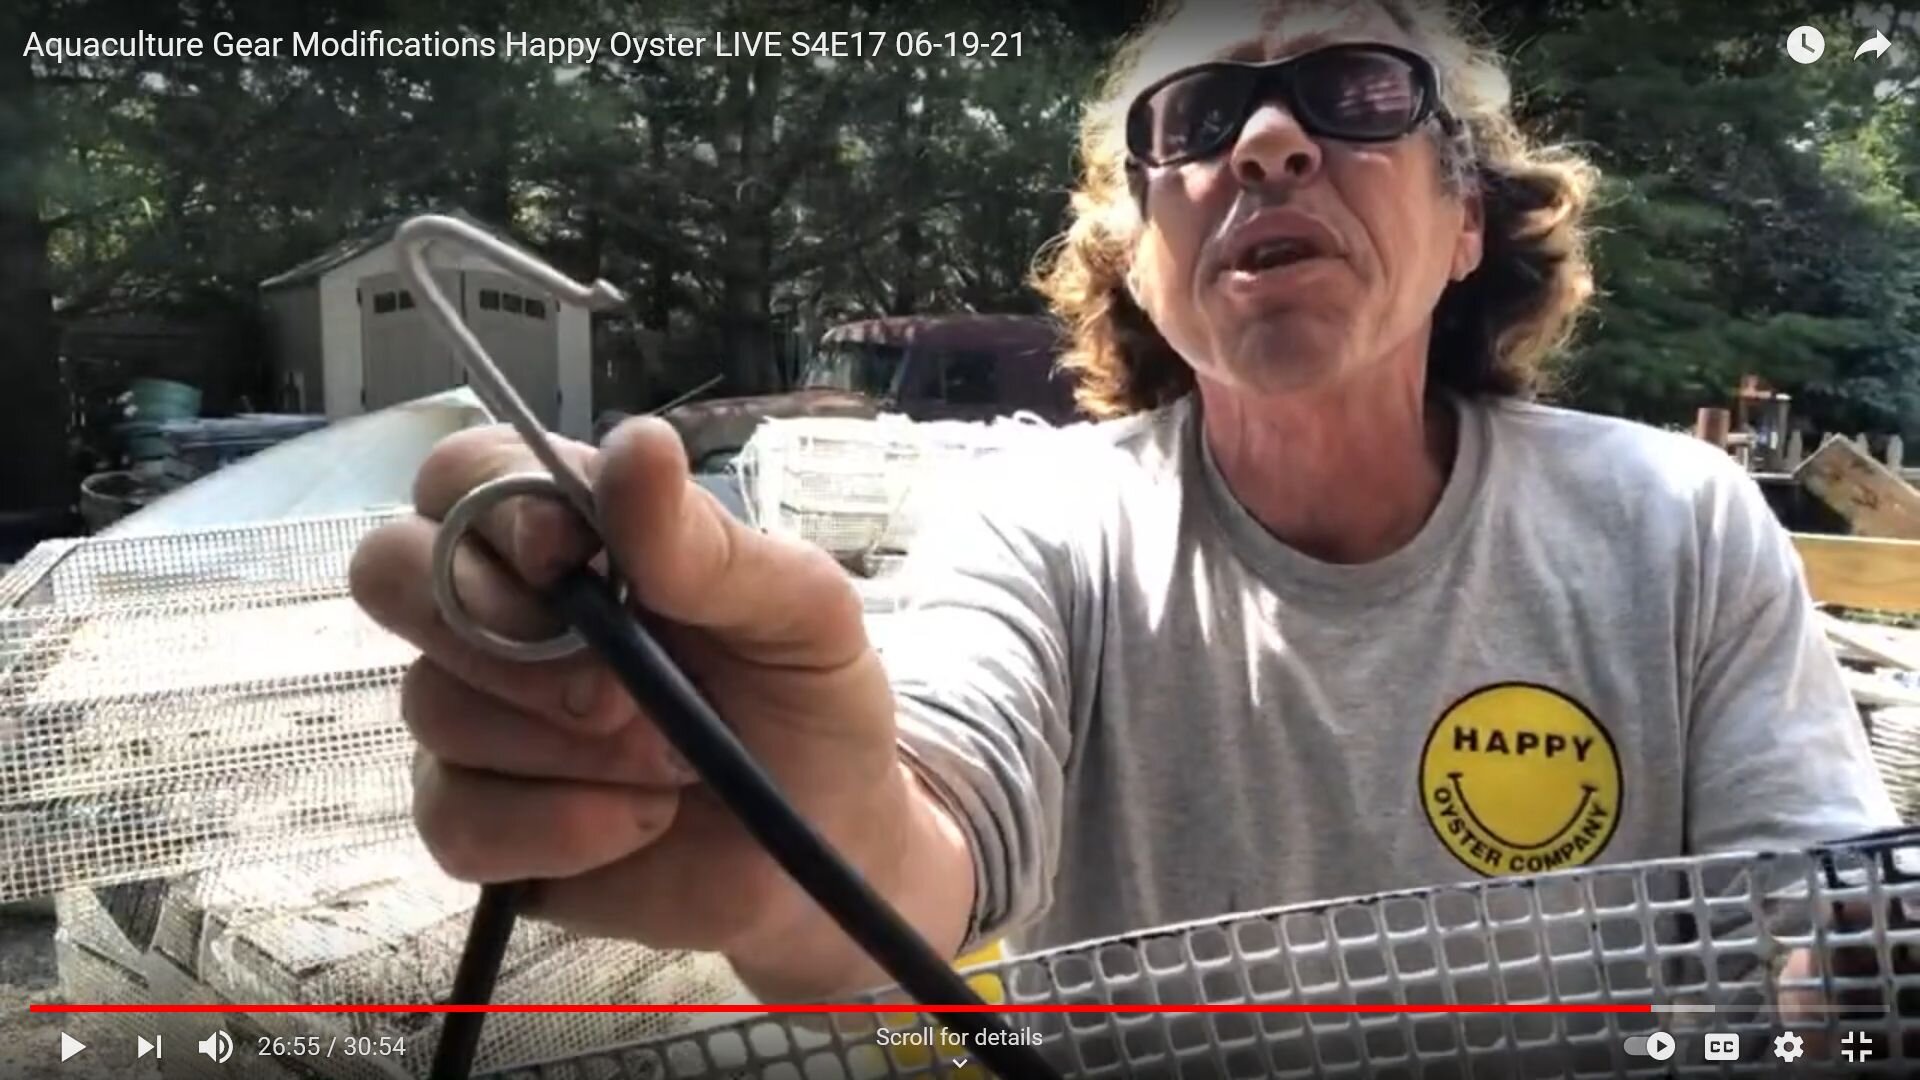
The screen-grab shots below show the new gear modification: A completely separate top; the rubber cord threaded and bowlined through it; the bowline knot; and the newly trimmed metal latch. Our YouTube LIVE Show video, S4E17, shows this and a few other cage and gear modifications we’re testing this summer of ‘21


Start With A Few Test Cage Tops..Go From There
One of the principles we practice in our experiments and explorations is to tweak as we build. No purpose served in going all the way when we’re testing. It might work. It might not. How many should I do? Six? Let’s see what happens with six. Let’s see what happens with three.
Resources
YouTube Aquaculture Gear Modifications Happy Oyster Co LIVE S4E17
